
This took time (maybe 10 hours so far plus) and a lot of glue. And the time in between to grow the skin back lost to said glue
I found a template online which outlined all the measurements and dimensions. It recommended using card but I used anything at hand, first the back of a desk blotter which ended up providing most of the main components.

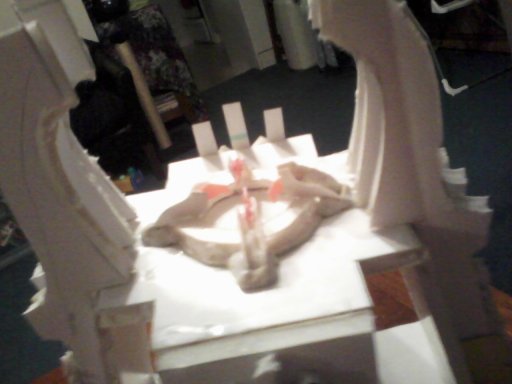
This is the side bastion with armour plates. The template didn't really have instructions noting that half of it needed to be inverted.

Four. Would probably used a thinner card if I had to do over. Not much thinner though. Holding these along the fold while the glue dried and soaked through destroyed my fingertips for a good three days.

Armour plates, strangely enough thinner card used is from super glue packaging - reduce, reuse and recycle people.

Used normal PVA to stick this on and then painted it over to help it stick, all over. Bottom armour and all.

Four again. Trimmed edges so no overhang. Fun bit is next

Well not this, this is just the corner. the fun part with no photos is holding this angle and gluing the back of the bastion on and holding it so its sticks. A tube of cheap super glue at least on each. And then the time for the oils in your skins to replenish and let you prise your fingers off it without undoing all the effort.

Completely deviated from the template here in sticking together, using foam board for the core structure. I knew that it was going to collapse without something solid and as I use baby formula lids for paint palettes, I have a heap saved up. Glued bastion base and sides as instructed and mounted on lid.

The card on one sides folds nice. Foam board as about $1.89 for two sheets. Was a bit crumbly on the curves but straight lines were no problems.

Lid goes on, along with the crown set pieces for the focus crystal (in this case, green acrylic rock from a fish bowl - seem to remember that these didn't most more than $7 from a discount or second hand shop).


You can see how crumbly the foam board was, maybe needed a sharper blade? (probably, but only had the one scalpel blade at the time) anyway, cut out copies of the base of the "pylon" and pasted thin card versions on base of each "pylon". Some other bits from templates stuck onto the sides to give a bit of character. They were a prick to cut out so damned if I was going to bin them.
Some more thin card pieces from the templates (armour plates they were labelled as, bit long pieces) so stuck these on back. Noted that foam board mounts for crystal too large so added bread tag cut-off arches to the inside.

The back curve is made with another formula lid and some tape with foam board curved around (folded and broken more accurately). Back corners are packed with poster-tack and super glue. The tape looks shitty but it hold its together well enough. Glued to back with the thick "armour plate" strips attached.

Small bastion tops added to tops of main bastions. Instructions not really clear on how the backs were attached so overlaps and gaps on sides and underneath. Will cover these with thin card towards the end of putting the whole thing together.

Top down view. Bastions have no guns as yet. Will use spare gauss flayers / blasters and drill through and mount on paper clip, gluing clip into folds. Using beads to centre and prevent sliding, should be all good.

Tried some poster paint over it to get an idea of how it would look with some colour. Quite thin paint and the spray paint I had wanted to use ran out. Added steps as well otherwise No way yo get to gate. Reckon I will mix some PVA with paint and thickly paint curves, let it dry and see how it looks for a gate effect.
I think its actually slightly bigger than a proper Monolith, but I am quite content with the result after all the effort that went in. Next, I need to paint it.
No comments:
Post a Comment